

Gardening for Dummies
All photos by Spencer Margolis
Spring is here, the sun is shining, it’s becoming nice outside, and flowers are blooming. It’s that time of year when people are getting ready to start a garden. While many of us have had a go at gardening, it isn’t uncommon to hear, “I once had a garden.” But with a bit of gardening advice, you can change that. Let’s take our failed attempts at growing plants and make them a lesson on how to improve our gardens in the future. A lot of people feel overwhelmed when they have to take into consideration the pH of their soil, the temperature of the growing area, the amount of sunlight needed to grow plants, how to grow delicate plants, and how to start seeds indoors. Now, I may only be a third year gardener, but that only goes to show that even beginners can grow plants. With a few simple tips, tricks, and instructions, you will be able to grow your own produce at home!
Buying the Right Soil
If you’re a beginning gardener, you may not know exactly what soil is best to buy for each individual plant. And what if you want to plant more than just one crop in your bed? The best option is to invest in a mid-range soil that is more on the acidic side and higher in nitrogen. Make sure that any root vegetables like onions or carrots are planted in organic soil because they directly absorb nutrients from the soil, and that’s what you’re eating. You also want to make sure that you are buying potting soil, not top soil. Potting soil is less compact and allows for seedlings to grow easier. Top soil can optionally be used after plants are mature and strong, and can support the weight of extra soil. This is especially important for crops like potatoes which need to push their way through the soil. Top soil, as well as mulch, can be used to help lock in moisture in the dirt below as a way of ensuring that your plants will always have water. Again, only add when the plant is strong enough to support the weight. You also want your soil to have good drainage. Good drainage ensures that water will be able to flow easily, meaning that you won’t drown your plants.
Choosing Your Plants
Companion planting plays a huge role in gardening. You want to make sure that you plant crops together to help each other grow, fight off pests, and make a prettier garden. Be careful not to plant certain crops next to each other, or they might attract pests or stunt one another’s growth. For example, planting oregano with broccoli creates a protective environment against pests and can add nitrogen to the soil, allowing more plants to grow. On the flip side, planting broccoli with something like squash, tomatoes, peppers, or dill can ruin that delicate barrier, and you have just attracted aphids into your garden. Aphids are every gardener’s nightmare; one bug makes its way onto your delicate broccoli plant and boom… gone within a week. This is why it’s super important to plan out what you want to plant, when you want to plant it, and what you want to plant it with. Included is a free printable chart for companion planting by onecreativemommy.com.

This following link will take you to the image above: Printable Companion Planting Guide
Bonus tip: Buying organic seeds is more beneficial, and you should order your seeds from a local farmer or small business to help them out.
Starting Your Seeds
Now that you have all of the prep work down, it’s time to start your seeds. Starting seeds indoors is essential for some plants that are too frail to start outside in 60 degree weather and need the extra time before it starts getting cold in the fall. For others, like broccoli and kale, you want to start extra early to avoid weather that is too hot for the plants to handle. To start your seeds, check the back of your seed packets. They will usually tell you if/and/or when you should start seeds indoors. Most tomatoes, peppers, eggplants, and other fruits that aren’t vegetables should be planted indoors up to 6 weeks before you plant them outside. Luckily, because of the arctic breezes we are currently experiencing, you have some extra time to start indoors. Now that you know to start plants indoors, it’s time to find out how.
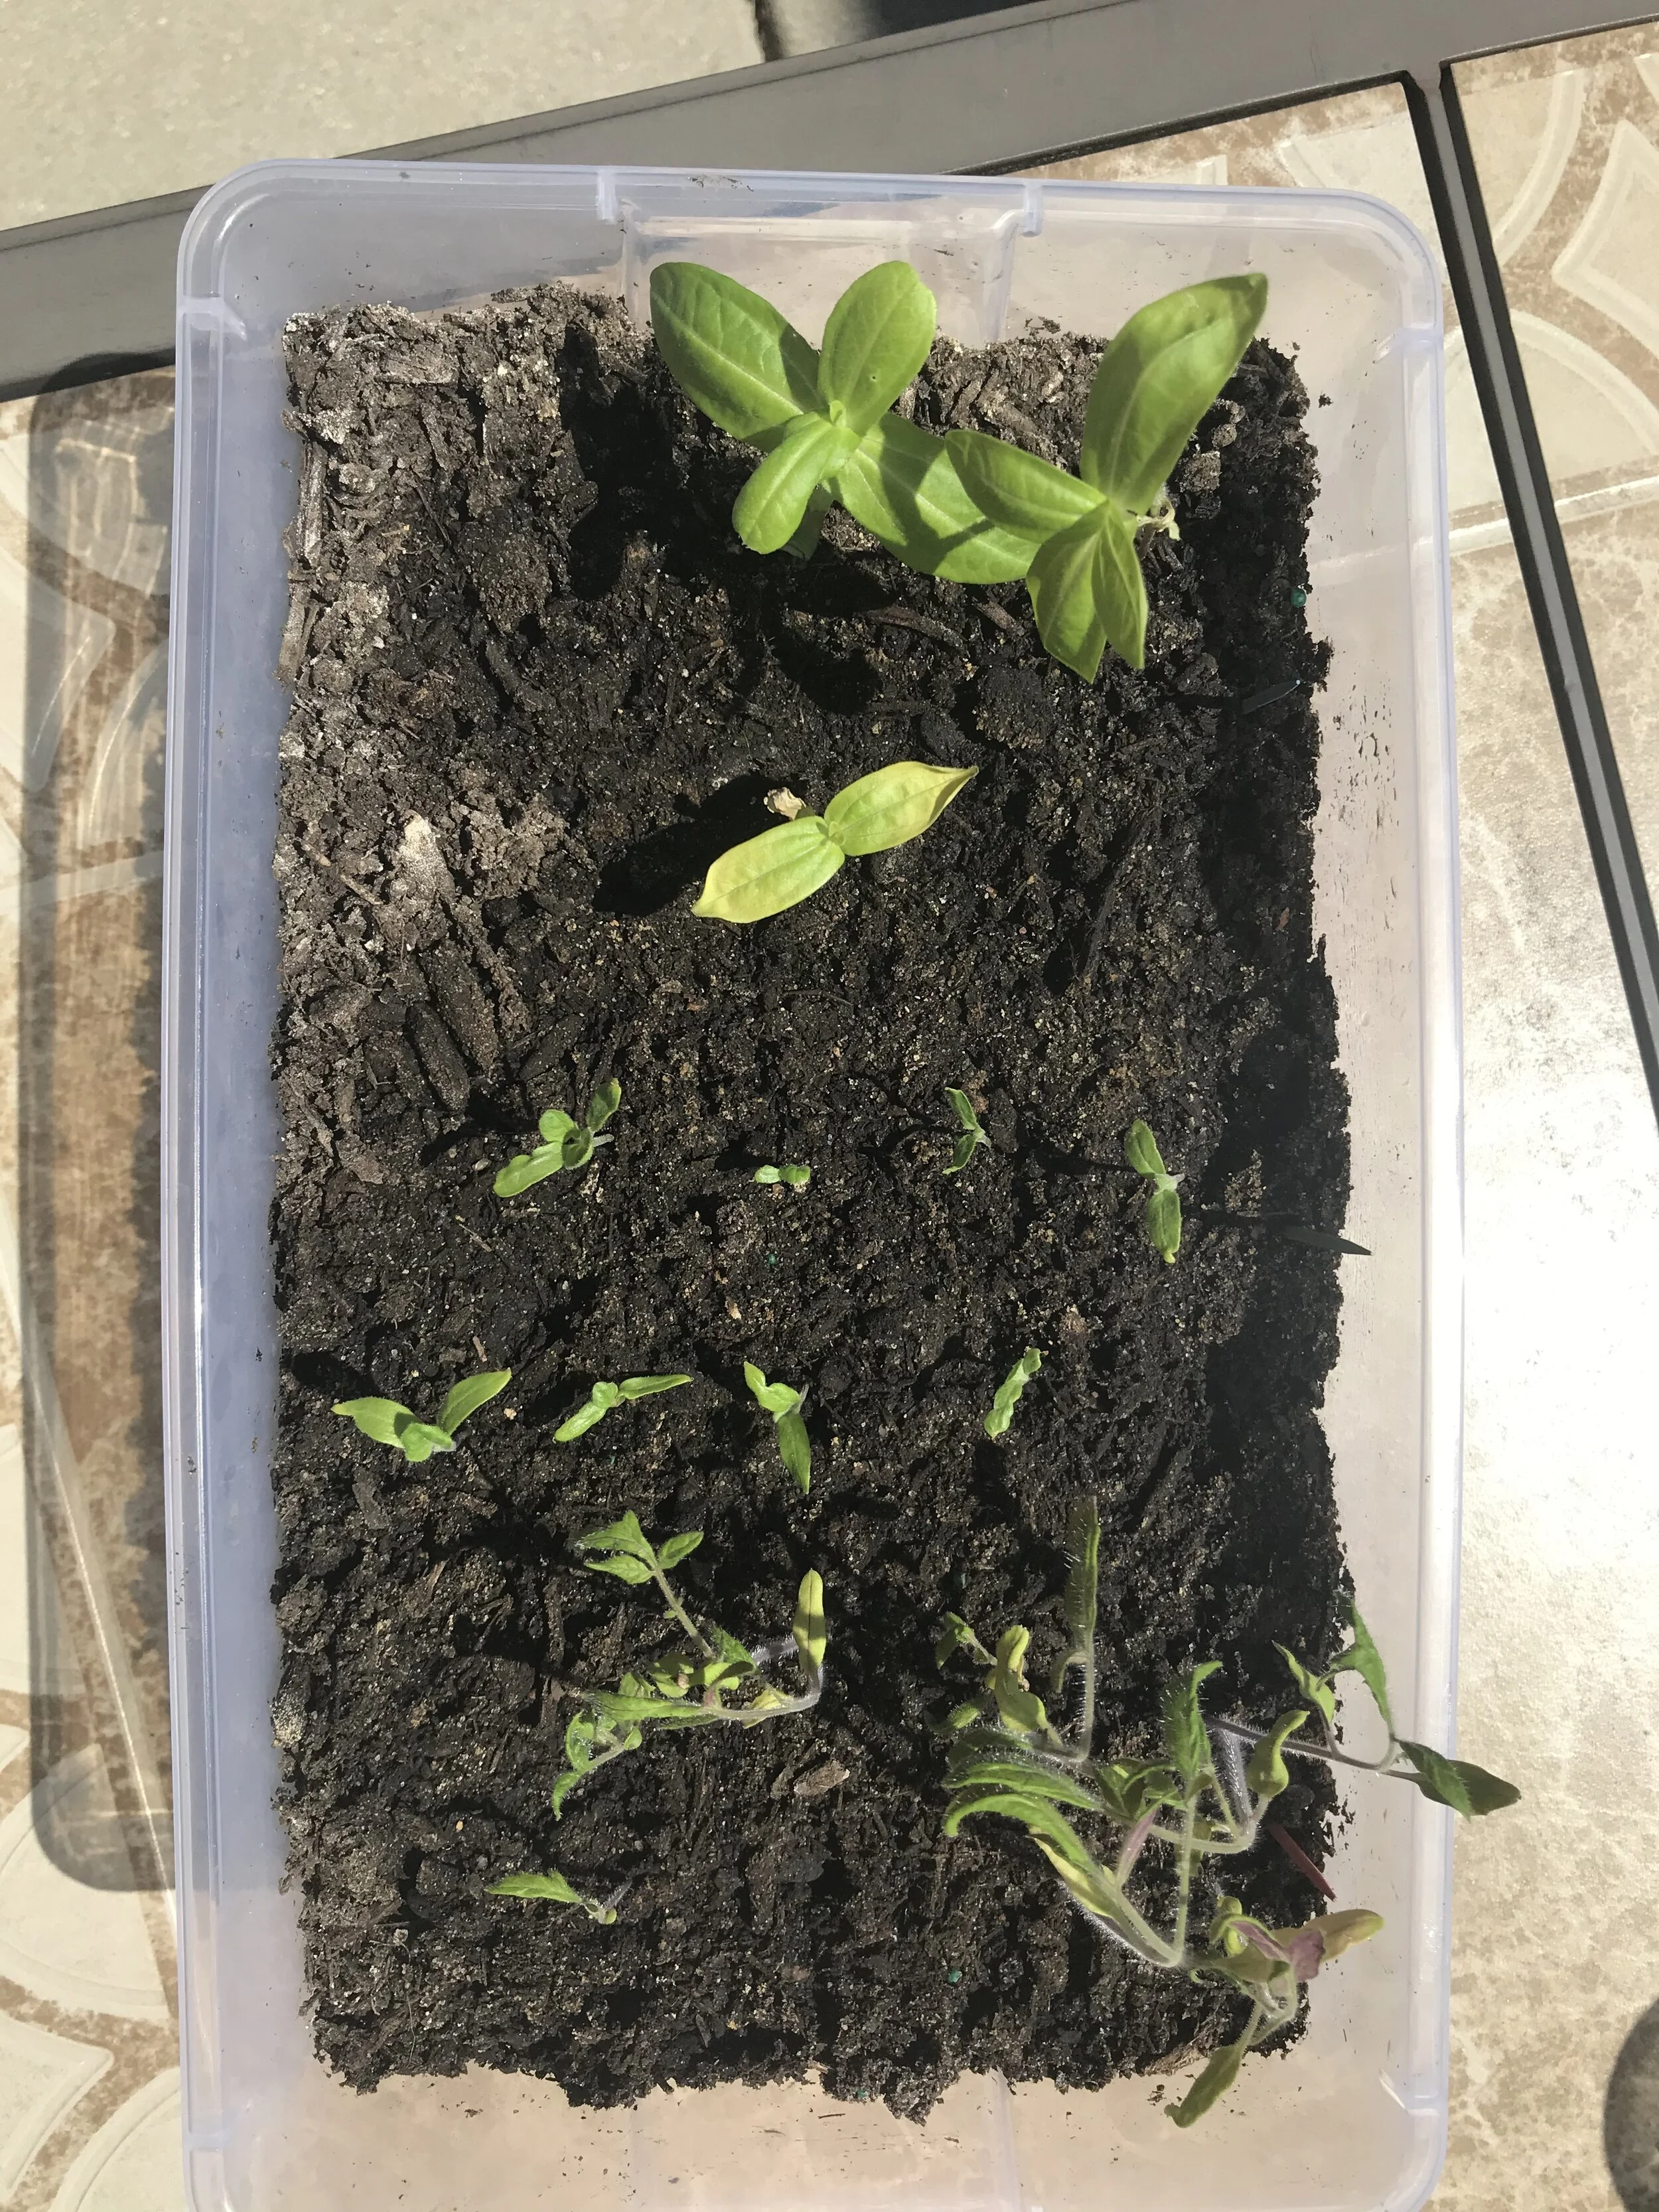
First, you don't need special equipment like a heat bed or compostable seed-starters, but you will need a grow light and a Tupperware or other large vessel. Here is a link from which you can buy a grow light: Grow Light. To begin, place your soil in your vessel. The soil should be at least 4-6 inches deep to allow more room for roots. Make a hole in the dirt about ¼ inch-½ inch deep (depending on the seed you use) and place 2 seeds in the hole. Gently cover each seed with a little bit of dirt, but don’t pack it down. Seeds should be 1-2 inches apart. Water the seeds generously and place them in a dark, warm place. It doesn’t matter if it has light or not, but the dark ensures more moisture in the soil. Check up on your seeds every day until the first seed sprouts and pushes through the soil. Once this happens, immediately place it under your grow light. Keep the grow light on for 16 hours a day and off for the other 8 (your plants need sleep just like you). When sprouts reach a considerable height (4-5 inches: use your best judgement), thin your sprouts by picking out the weakest of the two sprouts. You should plant two seeds in each hole to ensure that one strong plant survives, and water your sprouts once every three days. You want them to be moist at all times, but you don’t want to drown them. Once temperatures stay steadily above 55 degrees at night, you are ready to plant outside. Given our situation, this shouldn’t be until June.

Planting
Now that your plants are growing, you can finally plant your seeds outdoors. For beginning gardeners, I would suggest planting in a pot, but you could use a bed, too. However, this might require a little more maintenance to take care of your seeds. As mentioned previously, you want to use good quality, good drainage, more acidic, and organic top soil. To prepare your soil, dig a hole in the dirt for each plant that you started, about the same depth as the plant’s roots. To plant your started seeds, pinch the bottom of the plant and pull up, being sure not to damage the roots. When you pull it up, shake off the excess dirt, and plant in the hole. Water each seed well. For starting plants outdoors, use the same process for indoor plants, but plant each seed a foot apart from each other. Water each seed well. Make sure that your seeds are in an area where they will get ample sunlight— at least 6 hours. Additionally, certain plants should be planted at different times. Take, for example, garlic. Each clove should be planted under mulch in late winter when it’s not too cold, but there’s still snow. Strawberries should be planted in April, tomatoes in May, broccoli in July, and cabbage in September. Your seed packet should tell you when to plant. Water your plants anywhere between once a week and once a month, depending on rain. You want the dirt to dry out before you water again. You should do this to prevent your plants from drowning.
Maintenance
It’s important to check up on your plants and take care of them throughout the summer. Make sure that your plants aren’t attracting any pests. To prevent this from happening, you can make a homemade pesticide with two cups of water and two tablespoons each of dish soap and baking soda. This won’t harm you or your plants, but it creates a slippery surface on your plants that bugs can’t land on. However, you don’t want to spray the flowers because you want bees to be able to pollinate them. Make sure that if you get weeds, you pull them out at the base— making sure to pull out any roots. This prevents the weeds from growing back. For root vegetables like potatoes, you want to bury the sprouts in soil until they start to flower. For determinate plants (which only produce fruit once), you want to cover the base of the plant in wood ash to allow it to grow more plentifully. You can do some research to see what types of plants are determinate. You also want to use wood ash made from wood that hasn’t been treated. If you have any questions about maintenance for a specific plant, you can check out a gardening website that tells you the specifics about each plant, or you can look at the back of your seed pack.
Harvesting
Depending on when your crop is ready, it’s finally time for you to harvest the fruits of your labor— quite literally. You want to check the back of your seed packet for information concerning when to harvest. Harvesting could be based on climate, time of year, setbacks like pests, and how the plants look, smell, or feel. For most fruiting plants, like tomatoes or strawberries, you want to harvest when they look best. For other fruits like watermelon or corn, you want to go off of how they feel or smell. Watermelon in particular isn’t ripe until a hollow sound is produced when you tap on it. Cantaloupe, on the other hand, should smell fruity and have a clear aroma to it. Root vegetables should most often be harvested when the plant above the ground starts to shrivel. Other veggies like broccoli should be harvested at a specific time of year to avoid pests and heat. Some crops like lettuce and kale can actually be harvested year round. Just make sure to read more about your plant to know specifically when to harvest it. Also, after you harvest, be sure to clean your plant before consumption, even if you didn’t use pesticides.

Herbs
Herbs are a great crop that beginning and professional gardeners alike grow. They are simple enough to grow in tin cans indoors or even in your garden as a companion plant. They are super easy to grow, harvest, and use. In fact, they can even be harvested all year round— including winter. As an added bonus, most herbs are perennial, which means that they can survive harsh winter temperatures and don’t need to be kept inside. However, if you keep them outside, you can’t harvest them during the winter months. These little buddies can also be grown alongside plants as an added benefit. Smelly herbs like thyme and oregano are hated by pests, but much loved by your fruits and veggies. For beginners, the best herbs to grow are basil, rosemary, and garlic. Basil enjoys warm temperatures while rosemary and garlic like colder climates.
Flowers
Flowers make a lovely addition to any garden, pot, or patio. Some are very pretty, and others can even help keep pests away. Some flowers can also be eaten, like crocuses, marigolds, roses, and dandelions, although you probably wouldn’t intentionally grow dandelions. Just make sure to plan out your flower bed just like your garden, and ensure that you know what types of plants enjoy their company.
Conclusion
Gardening can be quite simple if you take the proper steps. Gardens are also good for the environment, are a sustainable source of food, and are healthy for consumption. With love, care, and a little help from a trusty grow light, you will be able to watch plants grow before your eyes. Happy planting!


